

Wall border sticker cozy red patterns
Reference: A51958Embrace festive spirit with cozy red patterns throughout the design. The intricate motifs create a warm atmosphere, perfect for seasonal gatherings. Ideal for adding a touch of holiday charm to any space, these elements combine to create a welcoming and joyful environment.
Transform your living space with our Wall border sticker cozy red patterns, designed to evoke the warmth and joy of the holiday season! This stunning design features a rich array of red patterns that embody the spirit of Christmas. The textural detail in each decorative element adds a touch of elegance, making it perfect for any cozy home. Let the festive charm of our wall border sticker bring a sense of comfort and delight to your surroundings!
Why this product should be used for decoration
Our Wall border sticker cozy red patterns wall border sticker is the ideal choice for anyone looking to elevate their home decor with a festive touch. Imagine the joy of transforming your walls into a winter wonderland! This product not only enhances the aesthetic of your space but also creates a warm atmosphere that invites friends and family to gather. Embrace the holiday spirit and make every moment memorable with this beautiful addition to your home.
How to place this product
Applying the Wall border sticker cozy red patterns wall border sticker is a breeze! Simply ensure the surface is clean and flat, peel off the backing, and smoothly stick it to your desired location. It adheres perfectly, creating a seamless look that will impress everyone who walks through your door!

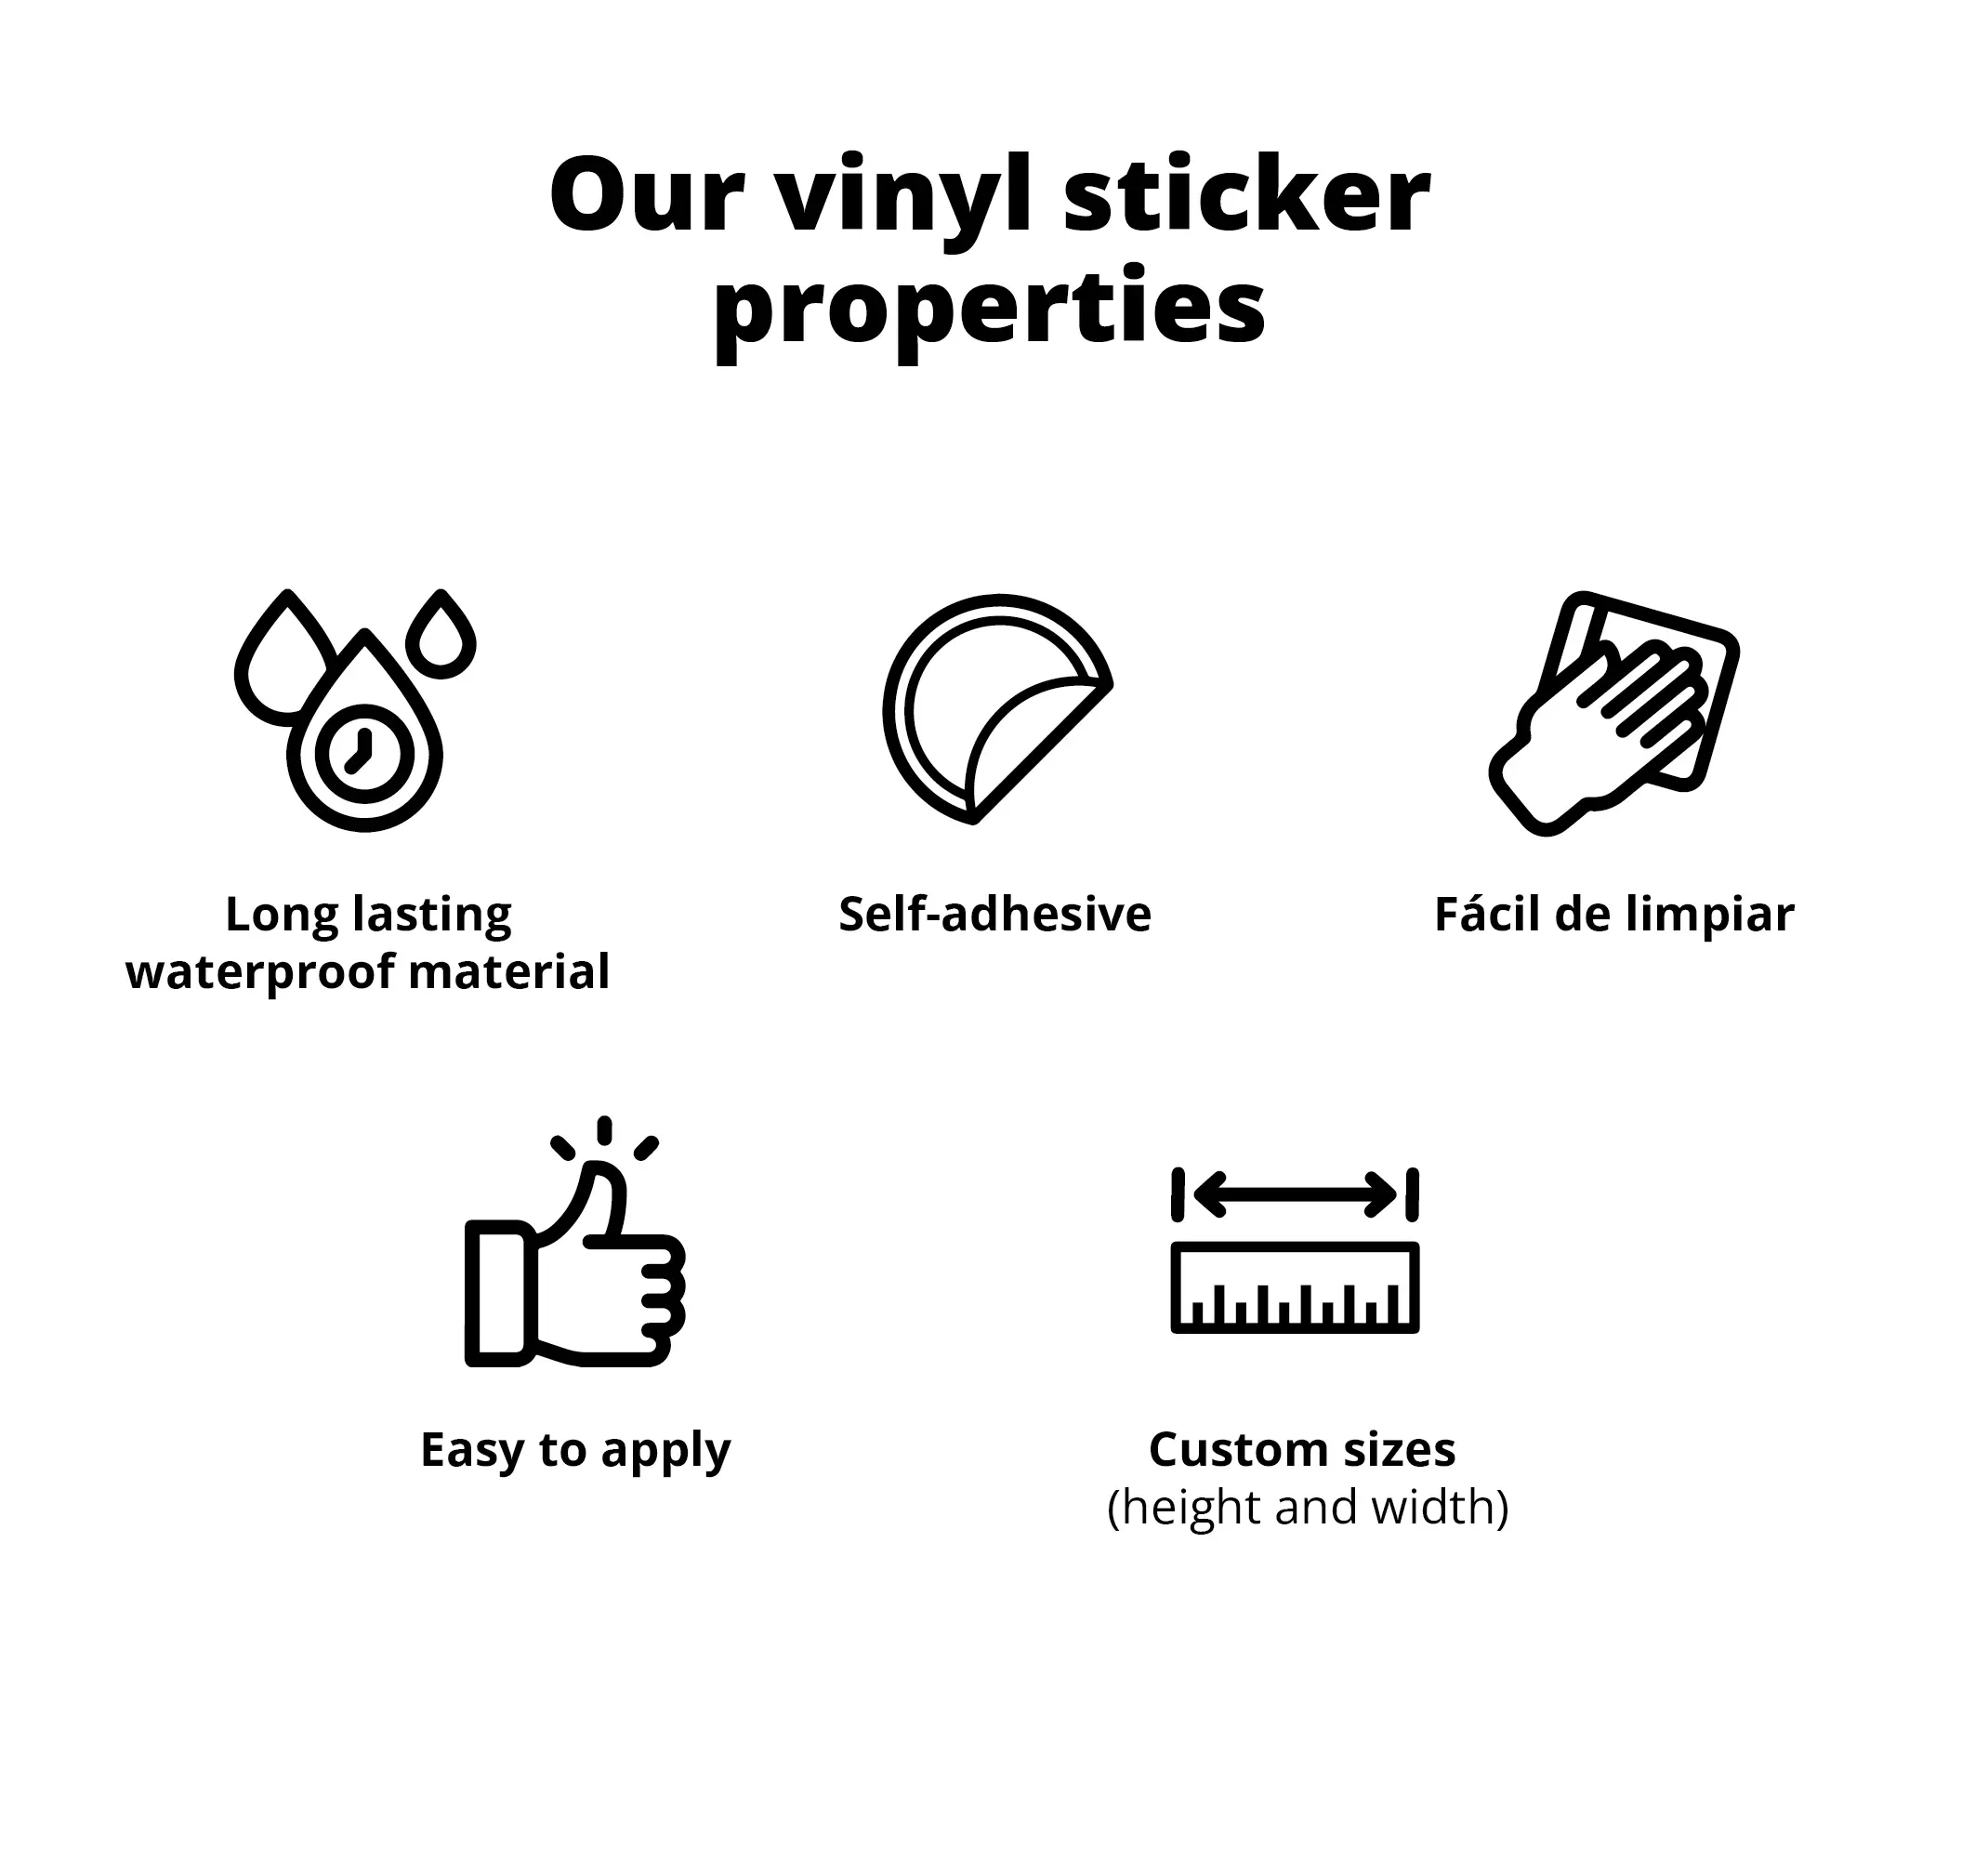
SELF-ADHESIVE
EASY TO CLEAN
EASY APPLICATION
CUSTOMISABLE MEASUREMENTS (BOTH WIDTH AND HEIGHT)
If you have problems when applying a sticker and you are not 100% sure of how to do it correctly, this easy tutorial will be a great help for you. It explains in a precise way and by following the instructions, this is the best way to know how to place a sticker.
There's no more excuses not to change the decoration of your house because this tutorial is very simple and clear, perfect to solve any kind of doubts. And if you have any doubt, or if you have any unforeseen problem when applying the stickers, you can always contact us by e-mail.
Applying a decal can be a fun process, don't miss out!
Necessary materials:
1- A spatula or similar (credit card, ID)
2- A clean cloth
What will I receive?
You will receive a cardboard tube packaging/bubble envelope that protects the sticker and its accessories from any damage. In the case that you also purchased a spatula, this will also be inside the tube/bubble envelope. Additionally, we are attaching a square sample of sticker so you can conduct adhesion and placement tests before applying the purchased sticker.
If you won ́t be applying the sticker until a few weeks later, then it will be better to take the sticker out of the tube/bubble envelope and keep it stretched out.
How to get started?
You will need to make sure that the surface where you will be sticking the sticker onto is in good condition; otherwise the durability of the sticker is not guaranteed as the grip won't be correct. The surface must be dry, free from dirt and impurities such as powder, liquids and stains...
We recommend that if you ́re going to stick your sticker on a painted wall, it should be plastic paint as this is the most recommended.
We do not recommend the application of our stickers on freshly painted surfaces. If the application surface of the sticker has been painted recently, we recommend a period of about 4 or 6 weeks before applying the sticker.
Never clean the surface with glass cleaner. This product leaves particles that are not compatible with the adhesive. We recommend cleaning the surface with water or cleaning alcohol from the pharmacy.
The stickers sold by Tenstickers are for any smooth non-porous surface. If yours is otherwise please contact iinfo@tenstickers.com to find a solution.
* If you have purchased a vinyl blackboard sticker you have to place in an absolutely smooth surface. The slightest irregularity on the surface will affect the writing and erasing on the board.
**The wrapping of the vinyls into the tubes might cause some wrinkles in the conveyor paper that is used to facilitate the application. When you receive the package we recommend to extend the vinyls and put pressure on the wrinkles, press again with the spatula or a similar object before the application. Vinyl is a flexible material and therefore any wrinkle that affects the paper has no effect on the vinyl once the application is done correctly.
How to apply the sticker?
01- You remove the seal from the cardboard tube; take out the sticker and the template. Have a table or a floor ready, and check that it is the correct sticker that you have ordered. Depending on the size of your sticker, your shipping may come in one or more pieces (in the same cardboard tube). If you ordered a photo mural, please be sure that there aren ́t any missing pieces to complete the mural.
02- Use the spatula very hard across the whole surface of the protective paper to ensure that the sticker sticks properly. We insist especially on the parts where the design has very small details.
03- Take measurements of the wall and adjust the space for the sticker.
04- Bend the white silicon paper about 5 centimetres from the top.
05- You stick the upper part of the sticker onto the wall in order to secure the sticker on the wall before removing the white silicon paper at the back.
06- You then remove the white paper at the back of the sticker as you press the sticker down. You will then use the spatula or anything similar to stick down the sticker onto the wall. The direction of the spatula (or similar) will always be from the centre and working your way outwards to the sides.
07- You will then go over the sticker several times with the spatula on top of the clear protective paper to ensure that the sticker is securely stuck onto the wall.
With multicolored stickers, the first spread with the spatula needs to be very soft because the sticker is repositionable and it can easily come off until it has been stuck on properly on the wall. Once stuck on correctly you will not be able to reposition it.
08-By now the sticker is already stuck onto the wall. Now all you need to do is remove the clear protection paper on top. You will pull this at an angle of 180 degrees.
Some stickers will not have transport paper due to their easy application. Completing step 7 of the instructions will be mean your sticker will be properly applied.
Express delivery within 48 hours to your home address available.