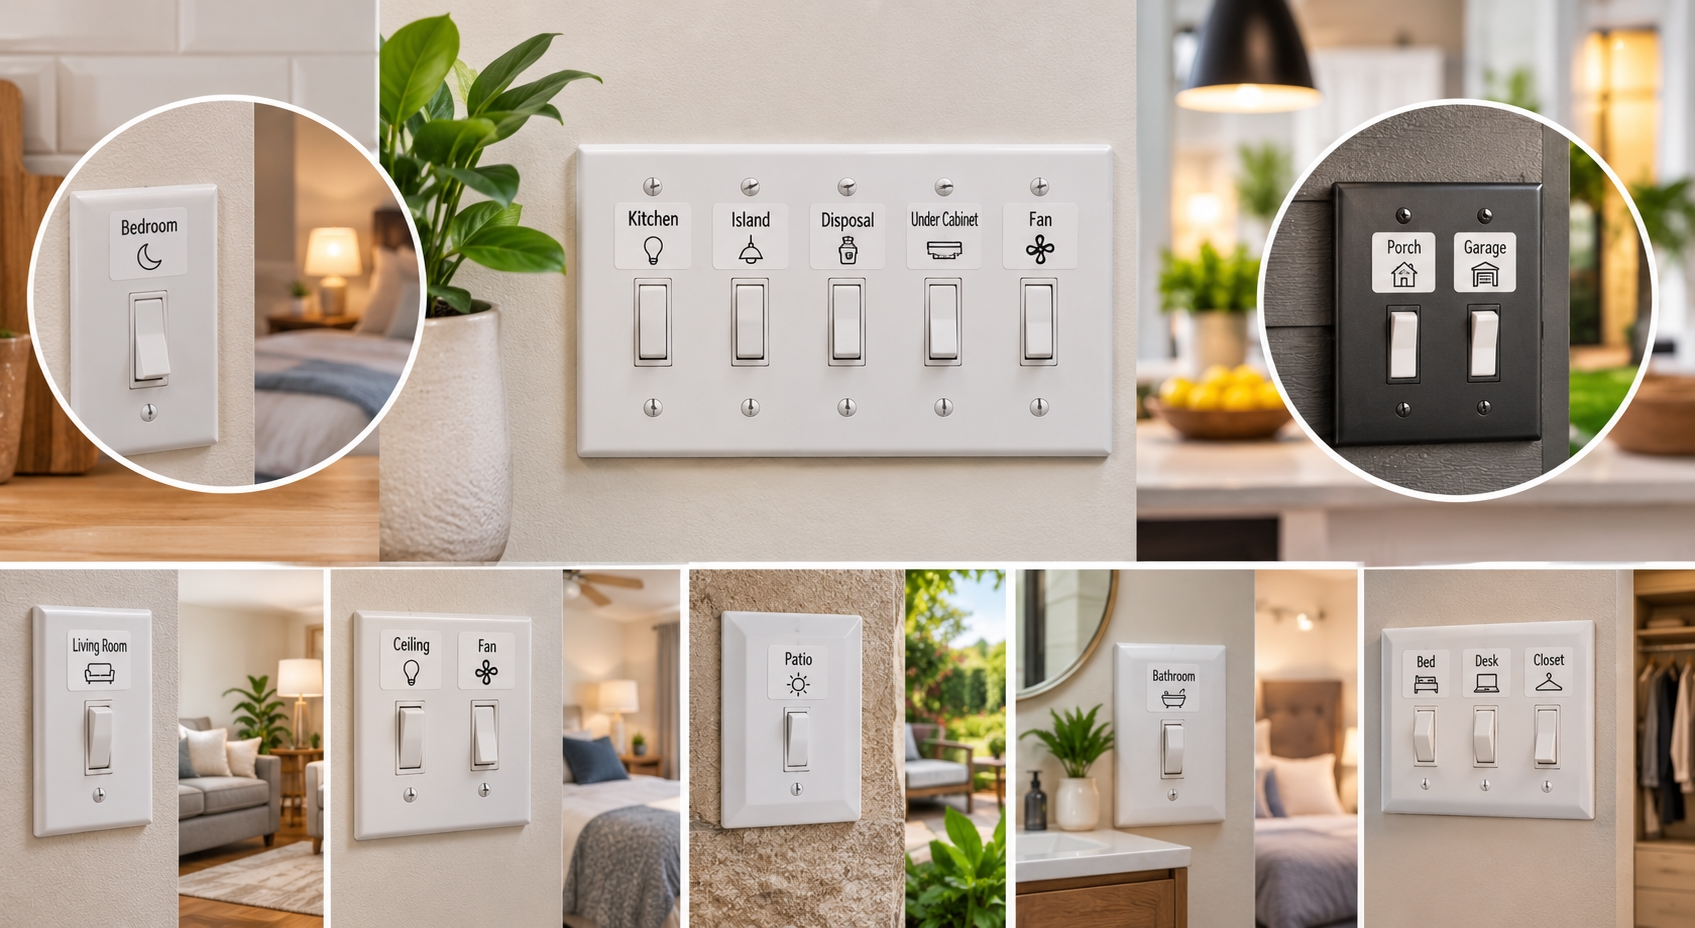

Light Switch Labels: How to Label Your Switches Clearly
Every home has at least one mystery switch. You flip it, nothing seems to happen, and you are left wondering whether it controls the porch light, the garbage disposal or an outlet behind the sofa. A bank of four or five switches by the door can be even more confusing. Light switch labels solve the problem simply. This guide explains what to label, how to word it and how to make labels that are easy to read and still look good.
Why label light switches?
Labels save time and frustration every day. Guests, babysitters and new roommates can find the right light without trying every switch. In a home with many fixtures, such as kitchens with pendant lights, under-cabinet lighting and a fan, labels prevent constant guesswork. They are also practical in rentals and vacation homes, where visitors do not know the house, and in offices and shared spaces, where many people use the same switches. Finally, labels can help in an emergency, when you need the right light quickly.

Find out what each switch does
Before labeling anything, test every switch. Ask someone to stand in each room while you flip switches one by one, and write down what turns on. Check outdoor lights, closets, fans, outlets and appliances, such as a garbage disposal. Some switches control outlets rather than lights, which is worth labeling too, so nobody wonders why a lamp does not work. If a switch seems to control nothing, check whether it is a three-way switch that works together with another one in a different place.
Choosing fonts and colors
Readability comes first. Choose a simple font with clear letters and avoid thin script styles, which are hard to read from a distance. The color should contrast with the switch plate: black or dark gray letters on a white plate, white letters on a dark or metallic plate. For a more decorative look, you can match the color of the labels to the room’s accents, as long as the words remain easy to read. Uppercase letters are often easier to read on small labels, while lowercase can look softer and more modern.
Where to place labels
There are two common options. You can place the label directly on the switch plate, just above or below each toggle, or on the wall next to the plate. On the plate, labels look neat and stay clearly linked to each switch. On the wall, they are easier to read for very small plates or for switches in tight spaces. Whatever you choose, never cover the toggle or rocker itself, and keep the labels on flat surfaces.
Labels that look like décor
Labels do not have to look like an office. Vinyl lettering in an elegant font can become part of the room’s style, especially in a modern or minimalist home. For kids’ rooms, a playful font or a small icon, such as a star for the night light or a fan symbol, makes the labels fun. In a vacation rental, labels in a consistent style across the house look professional and help guests feel at home.
How to apply vinyl labels
Clean the plate with a dry cloth so there is no dust or grease. Then position each label with a small piece of masking tape and check the alignment before pressing it down. If you use cut-vinyl lettering, smooth it firmly and remove the transfer tape slowly at a low angle. For a perfectly straight result, you can remove the switch plate, apply the labels on a flat table and screw the plate back on.

Sleepy cat light switch sticker
Keep labels up to date
If you change a fixture or rewire a room, remember to update the labels. Removable vinyl makes this easy: peel the old label off slowly from a corner and apply a new one. Keep a simple list of all switches and what they control, especially in rentals, so changes are easy to track.
Clear switches, calmer home
Labeling light switches is a small project with a big payoff. Test every switch, choose short and clear words, use a readable font with good contrast and place labels consistently. In an afternoon, the most confusing switch panel in your home can become simple enough for any guest to use.